Requesting DEPOSITS
Once in the Deposit Request tab window, deposits can be requested for
the selected case. This topic will cover the different features for requesting
deposits.
Requesting a
Deposit for a New Value Item
When requesting a deposit directly from a value item, many of the fields
are filled in automatically with the information from the selected value
item. If you have a new value item, you can request the deposit and when
processed a new value item will be created in the associated case.
To request a deposit for a new Value item, complete the following fields
on the Deposit
Request (Detail View) window:
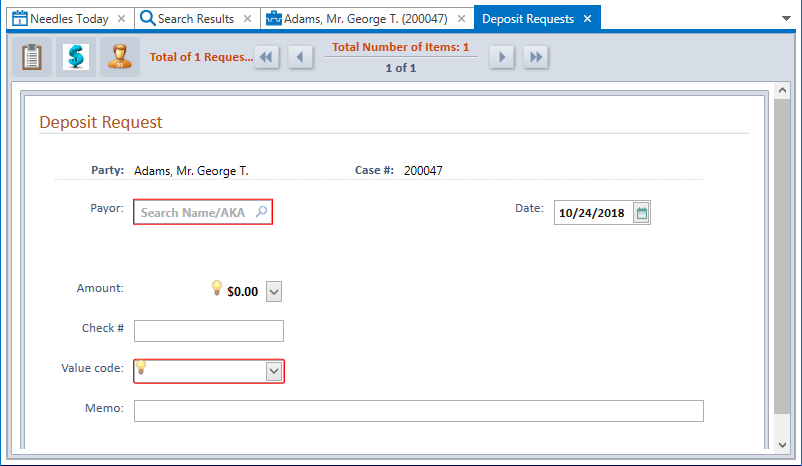
- Payor –
Enter a fragment of the last name or company name of the payor (who
the check is from). The Find
A Name window will display where you can select the desired Provider.
This is a required field.
- Date – Enter
the date
of the deposit request. The current date is the default but may be
changed using the Date Calendar.
- Deposit
Amount – You may type or use the calculator
dropdown to enter the amount of the deposit. Deposit amount is
a required field and will display a validation icon and message if
left blank.
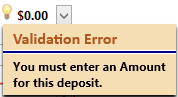
The deposit amount cannot be
greater than the amount Due of the selected Value item.
- If Needles detects a duplicate deposit of the same Payor,
date, case number and deposit amount, a Duplicate Request message
will display.
- Click the Yes
button to request the same check again.
- Click the No
button to delete the duplicated check request.
- Check #
- Enter the check number of the item being deposited.
- Value Code
– Use the dropdown to select a ‘Credit’ Value Code as defined in the
Value
Codes Mini Directory. Value Codes are used to categorize transactions
and can also be used in sorting and filtering reports. Value Code
is a required field and will display a validation icon and message
if left blank.
- Memo – Enter
a description of the transaction, if desired. The Payor’s full name
will display by default when the Deposit Request was created from
the Request Deposits button in a Value item or if the linked Value
item’s Memo field is blank. If the Memo field of the linked Value
item contains text, the content will display in the Deposit Request
tab.
A new value item will be created showing the open deposit request when
you complete the processing
of the deposit request.
Changing the Party
When entering deposit requests for multiple cases, the Change Party
option allows you to search for and link to additional parties/cases.
To request or view deposits for a different party,
- Click the Change Party button
 on the
gray header band in the Deposit Requests tab window. The Find A Party
search window will display.
- Search for and select the desired Party/Case.
- A new Deposit Request screen will display with the selected
Party Name and corresponding case number. Your existing, unprocessed
deposit requests will still be available by clicking the View
List
 button.
Requesting Additional Deposits
Additional deposits may be requested for the same Party in the selected
case. Click the Add  button on the Accounting ribbon to display
a new Deposit Request entry screen.
Requesting Checks
from a Deposit
Needles allows you to request checks from the deposit currently being
entered. The Request Checks  button on the Deposit Request
tab displays a list of debit Value items from the current case for which
check requests can be created. When in a case, multiple value items can
be selected to create multiple check requests at one time.
- Clicking on the Request Checks
button will open a window displaying all debit Value items
with balances greater than zero for the currently selected case.
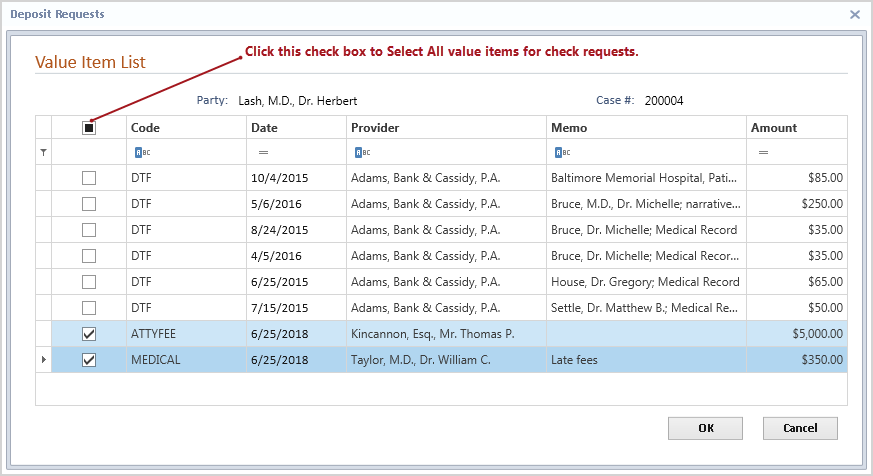
- Select the check box in the first column for one or multiple
value items to create check requests for them. Selecting the check
box in the column header row will select all items.
- Click the OK
button. Upon returning to the Deposit Request tab, additional fields
will be displayed at the end of the tab.
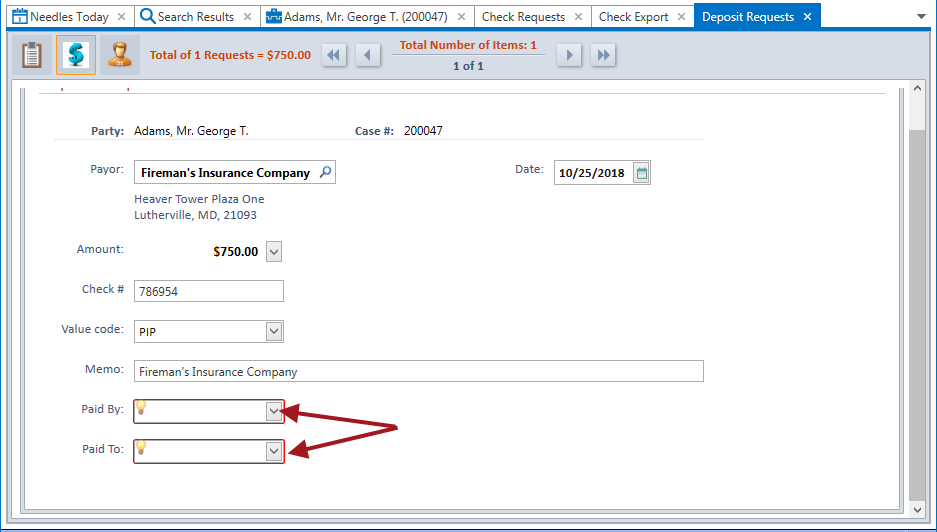
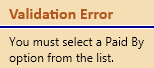
- Use the Paid
By dropdown to select from whom the deposit will be paid. Active
Paid By items are defined in the Paid
By Mini Directory. Paid By is a required field and will display
a validation icon and message if left blank.
- Use the Paid
To dropdown to select to whom the deposit will be paid. Active
Paid To items are defined in the Paid
To Mini Directory. Paid By is a required field and will display
a validation icon and message if left blank.
If you change the amount (to indicate a partial payment),
it will be reflected in the Value item upon processing the request. The
amount requested for the check request will display in the Open Request
field of the Value item in the Value tab. This amount will continue to
display in the Value item until the check is exported.