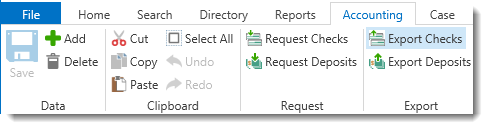
Processed check requests can be selected in the Export Checks tab window to create an export file for use by an accounting program. The exporting information is also used to create/or update Value items. If using the QuickBooks SDK Accounting Interface, you will still need to use the Export Checks feature to send your check requests to QuickBooks; however, there is no specified file to export from Needles or import into QuickBooks. QuickBooks will automatically receive the check requests upon completion of the Export Checks process. The QuickBooks SDK interface features bidirectional capabilities that link individual records between the two databases and eliminates the import step required in the QuickBooks IIF Interface.
To export processed check requests,
 button on the
Accounting ribbon to open the Check Export tab window.
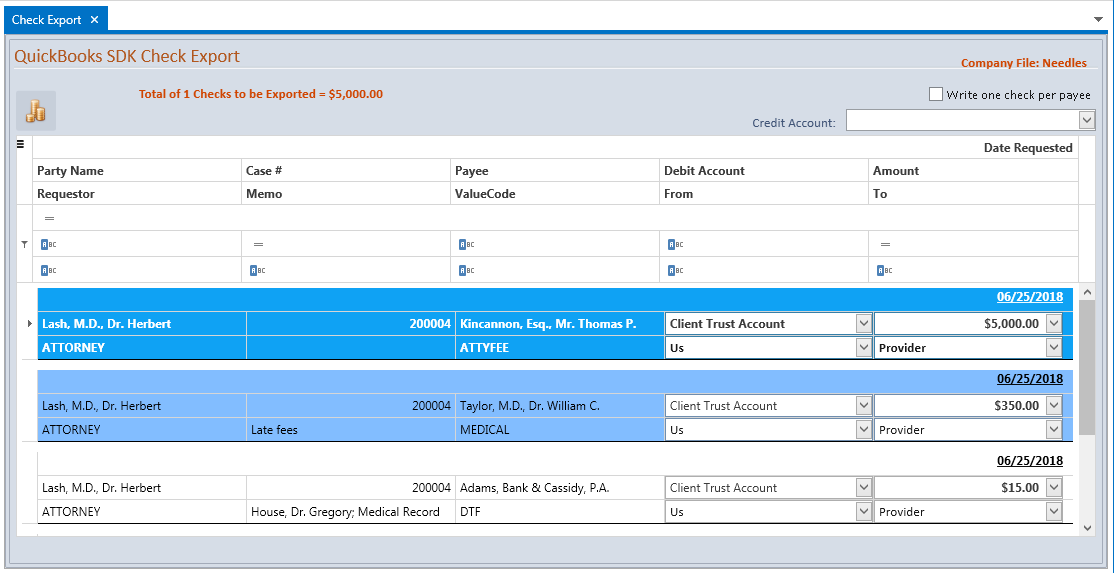
The open QuickBooks Company File will display in the upper right. If you use multiple company files with QuickBooks, ensure that the desired company is open in QuickBooks before exporting checks.
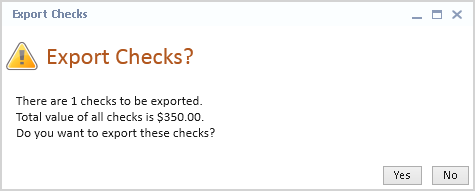
 button to export the
selected checks.
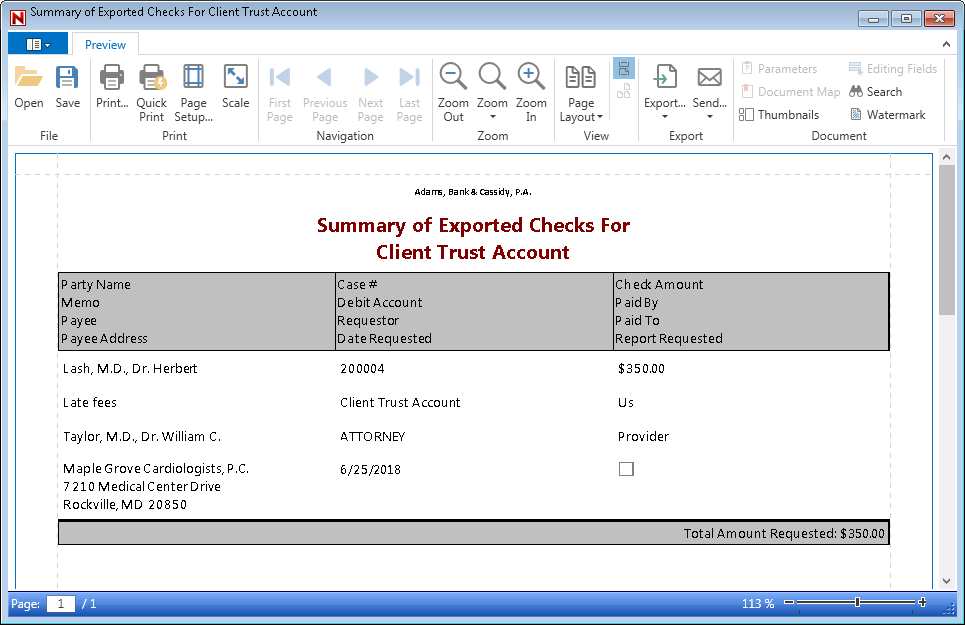
When you close the Summary of Exported Checks window, the Check Export tab will also close. The Due amount of the Value item linked to the selected check(s) will be recalculated and the Open Requests field will be reduced by the amount of the exported check request. A Value Transaction item will be created for the linked Value item using the Date exported as the Date of the transaction item. If the Value Code of the Value Items are marked as DTF, a linked DTF item will also be created.
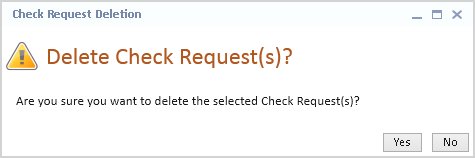
Processed checks may be deleted from the export window before being exported to an accounting program.
To delete processed check requests,
 button on the Accounting ribbon.
If you are using QuickBooks IIF, Sage50 or another accounting system, you must next import the file into your accounting application. No changes or additions are made in your accounting application until you import the information. The actual procedures for importing the file vary, depending on your accounting application. Check request data will be exported in the order specified in the Interfaces > Check Export tab.
Needles will export check data in a tab separated file when using QuickBooks IIF. The Memo field of the check will be created using the variable(s) selected in the Interfaces >Check Export settings under Check Memo. The Voucher field of the check will be created using the variable(s) selected in the Interfaces >Check Export settings under Voucher Memo.
If you are using Sage 50 as your accounting system, an export file will be created using settings specified in the Interfaces > Check Export tab. The Memo field of the check will be created using the Party Full Name and Memo text.
The QuickBooks SDK interface option does not require importing of a file as the system automatically exports the information directly to QuickBooks once you have exported the check information and closed the Check Export tab window. The Memo field of the check will be created using the variable(s) selected in the Interfaces >Check Export settings under Check Memo. The Voucher field of the check will be created using the variable(s) selected in the Interfaces >Check Export settings under Voucher Memo. In addition, once you have finished printing or voiding a check through QuickBooks SDK, the check number or void information is sent back to the Needles Value item and is tracked in the Transaction Details.