Sage 50
The Sage 50 Interface (formerly the Peachtree Windows Interface) only
allows for the exporting of check requests into an .csv file which is
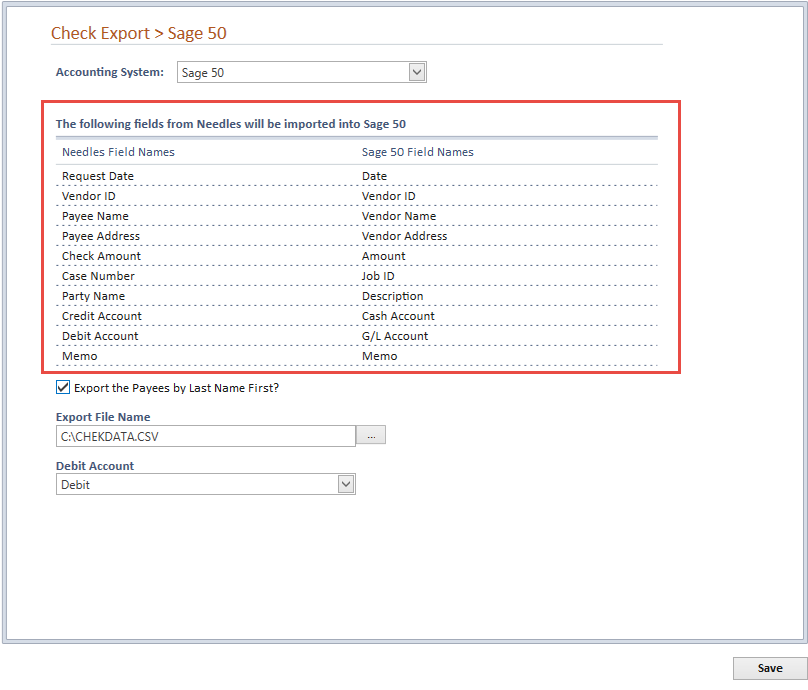
then manually imported into the Sage 50 program. When selecting the Sage
50 interface from the dropdown list on the Check Export tab, the following
screen will display showing where the Needles fields will be imported
into corresponding Sage 50 fields.
Complete the selection of the following options to further tailor how
and where data is exported from Needles.
- The Export the
Payees By Last Name First? option is already selected by default
which will export vendor names to your system in “Last Name, First
Name” order. To send the names in First Name, Last Name order, deselect
the check box.
- Enter the full path for the name of the file to which
Needles will export the data. The export file name for QuickBooks
must have an extension of .csv.
If more than one person is
exporting checks, you should designate the path of the exported file to
their C:\ drive. This will prevent the individual’s export files from
being overwritten by another user.
- Click on the Debit
Account dropdown field to select the name of the account into
which you are importing the information. The Debit Account dropdown
field is populated from the items you entered into the Debit
Account Mini Directory.
- Click the Save
button to save selections. If changes have been made and you attempt
to navigate away from the Check Export tab or attempt to close Needles,
a save changes message box will display:
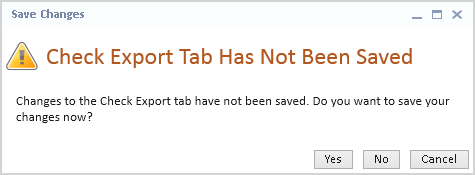
- Click the Yes
button to save your changes.
- Click the No
button to abort your changes.
- Click the Cancel
button to return to your changes.