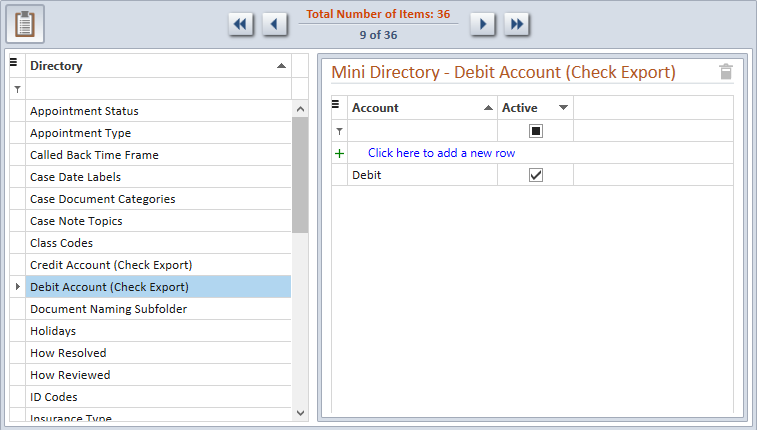
The Debit Account Mini Directory includes the user-defined Debit Accounts used in the check exporting function. The Debit Account Mini Directory designates the accounts to which checks or deposits can be exported and are necessary only if your firm uses one of the Accounting System Interfaces with Needles. This directory provides a standard list of accounts that will appear in Debit Account dropdowns in the check and deposit request and export screens. The Debit Account Mini Directory includes the following two columns of information for each directory item: Account and Active.
When using the QuickBooks SDK interface, it is not necessary to populate the Debit Account Mini Directory as the bidirectional interface will connect directly to the chart of accounts from the selected QuickBooks company.
To add items to the Debit Account Mini Directory,
 to display the reason for the error.
To modify items in the Debit Account Mini Directory,
The Hide/Show List button on the Header Band can be used to toggle the visibility of the Directory Pane.
to display
the reason for the error. To delete items in the Debit Account Mini Directory,
The Hide/Show List button on the Header Band can be used to toggle the visibility of the Directory Pane.
Use CTRL + CLICK to select multiple rows.
 located above the upper right corner of the grid in the Items Pane.
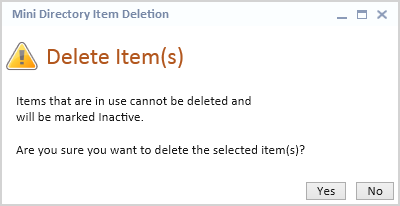
The following deletion warning message will display notifying that
if items are in use, they cannot be deleted and will be marked as
inactive instead.
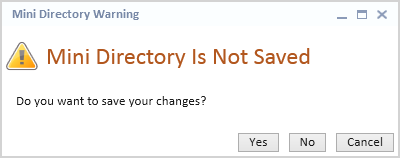
When changes, such as adding, modifying or deleting items, have been made to a Mini Directory, the Save button on the Directory ribbon will be enabled.

However, if changes have been made and you attempt to select another Mini Directory, close the Mini Directory Editor Window or close Needles, you will be prompted with a save changes warning message.
You may decide to abort the recent changes by using this method.
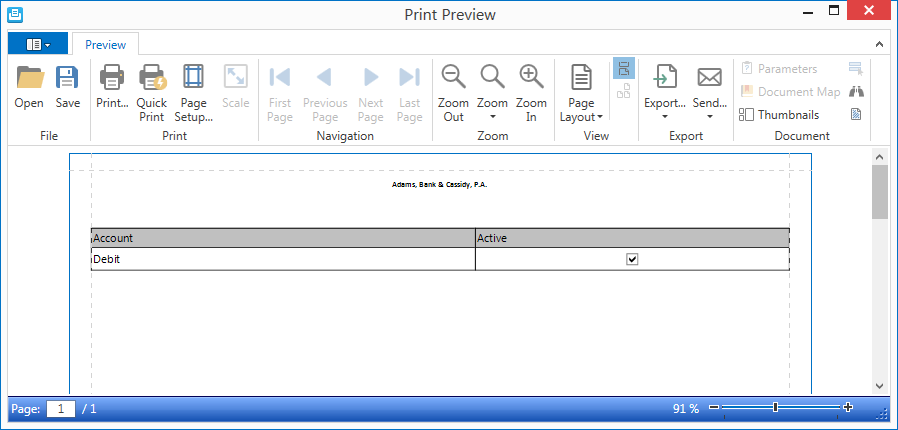
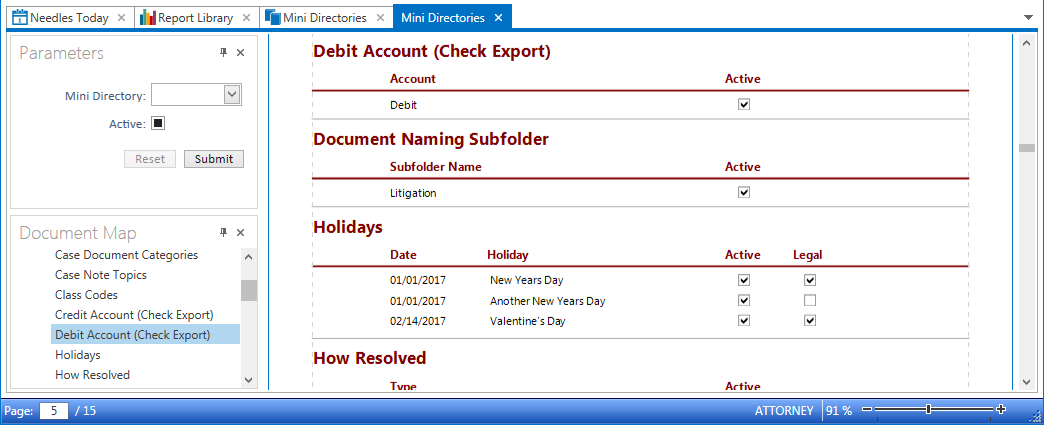
A list of Mini Directories or a list of items in a Mini Directory can be printed using the Mini Directories report in the Report Library or using one of the options in the Hamburger menu of a grid to print or export the current grid view.
A list of items in a Mini Directory can be printed using the standard Needles Mini Directory report.
You will need the proper permissions to access the Directory Reports.
To access the Mini Directories report,
 above the reports
grid. The Mini Directories report will display in a new tab window
within Needles.
Click the Reset button to reset the fields to the last selections when the Submit button was clicked.
While viewing the list of Mini Directories in the Directory Pane or
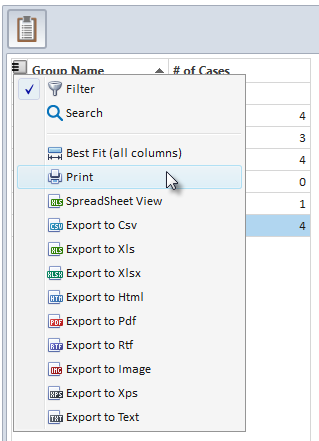
the list of items for a Mini Directory in Items Pane, the current grid
view can be printed by clicking the Hamburger icon  in the upper left corner of the grid and selecting the Print option from
the menu. Other options include exporting the current grid view in the
desired format.
The columns can be repositioned, however they are default and cannot be removed from the grid.
Printing the grid view will only print the list of the Mini Directories or the list of items in a Mini Directory. To print a list of Mini Directories and the corresponding items, use the Mini Directories report in the Report Library.