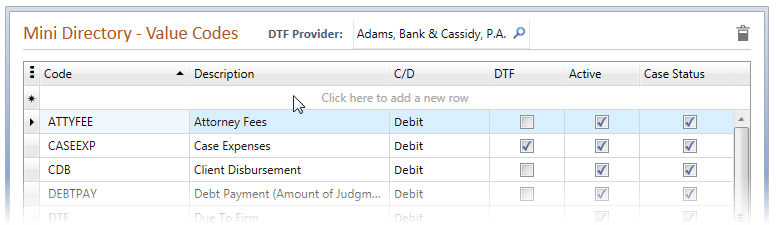
Some screens have grids that allow editing of data directly in a cell. Use your mouse to click into cells or use the Navigation keyboard shortcuts to easily move around the grid. Field behavior is the same as it is in a detail entry screen. Validation messages will display when data has been entered incorrectly.
Depending upon the area in Needles where the grid is being displayed, you may be able to add rows and enter data directly into the grid by using the Click to Add row. You will find the Click to Add row is generally available in Directory grids.
To add a new item using the Click to Add row:
Grids displaying the List View of a list tab or on the Checklist tab in a Case Folder allow adding additional items from the grid view by clicking an add icon.
To add a new item when no Click to Add row is available in the grid, do one of the following:
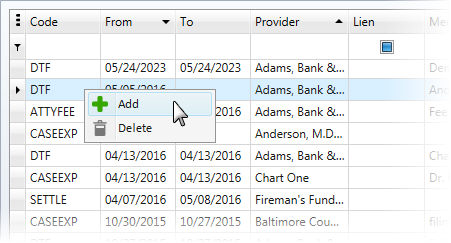
If on a list tab, a new detail view of the specific item will display for you to enter the data. If on the Checklist tab, a popup window will display from which items can be selected.
To add a new item when no Click to Add row is available in the grid, do one of the following:
Additional keyboard shortcuts specific to data editing within a grid are shown in the table below.
| Keyboard Shortcut | Function |
| ALT + DOWN ARROW or F4 | Opens or closes a dropdown in a cell. |
| CTRL + A or F2 | Selects or deselects the text in a cell. |
| CTRL + UP ARROW | Increments the selected value in a date, time or numeric cell |
| ENTER or move to another cell | Accepts changes and closes the cell editor. |
| ESC | Discard changes made in a cell |
| ESC ESC | Discard changes made to all cells in a row |
Depending upon where the grid appears, rows can be deleted several different ways. To delete rows from a grid, do one of the following:
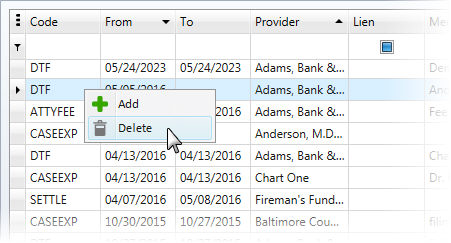
Click Yes on the Delete Confirmation message.