The QuickBooks SDK Accounting Interface is a direct bidirectional link between the Needles database and the QuickBooks database. When using this interface, there is no need to manually import and export files between the two programs. You will be able to request checks, enter deposits and enter time entries in Needles that will link directly to your QuickBooks data. Changes to (Needles) Party/Provider and (QuickBooks) Customer/Vendor name and addresses are automatically updated between the two programs based on the options selected.
If you want to select the QuickBooks SDK interface, the following steps must be completed prior to setting the Accounting System Interface to the QuickBooks SDK option. Once the SDK check export options have been selected, you will need to select additional options to finish Configuring the QuickBooks SDK Interface.
Before selecting the QuickBooks SDK, you should be aware of certain considerations when using a bidirectional interface to ensure you achieve the desired results in your data. See Understanding the QuickBooks SDK Interface for pertinent information your firm should review and consider with the assistance of your accounting professional or QuickBooks ProAdvisor, PRIOR to making a decision to use the QuickBooks SDK Interface.
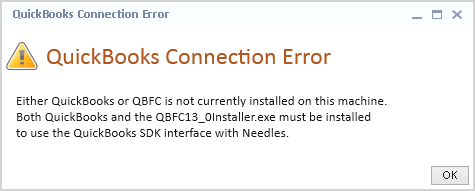
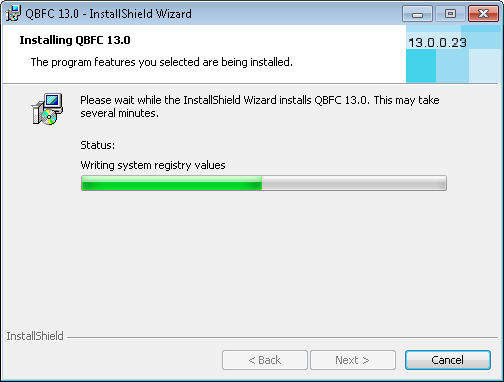
In order for QuickBooks SDK to communicate with Needles, you will need to install QBFC 13.0 and subscribe to events from QuickBooks. If QuickBooks SDK is selected as the Accounting System without QBFC installed properly, a connection error message will display upon first entry.
The QBFC 13.0 software should be installed on each computer that will need to integrate with QuickBooks. The QBFC software translates the Needles data into a format that QuickBooks will understand.
If your firm is accessing Needles and/or QuickBooks via a Terminal Server, please contact Needles Support (410-363-1976) for special instructions on installing QBFC in your environment.
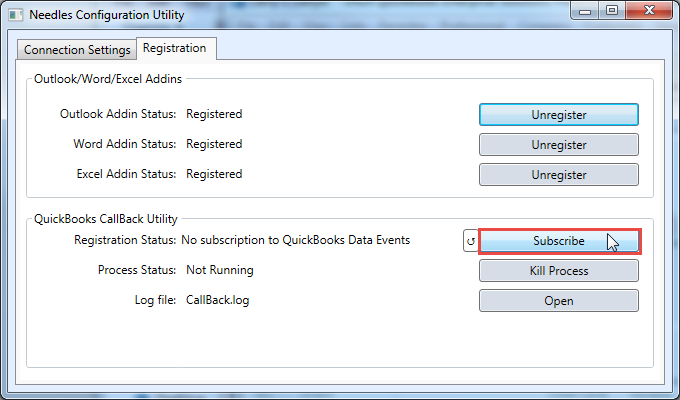
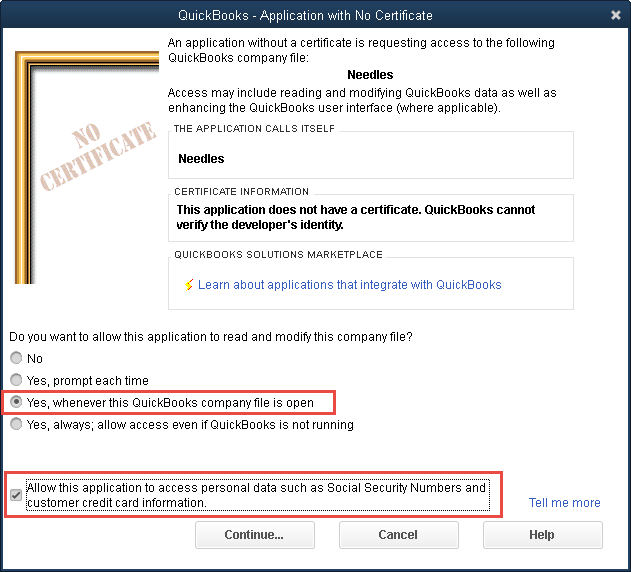
Select the following options:
Click the Continue button. A confirmation message will display to confirm your decision to allow the access.
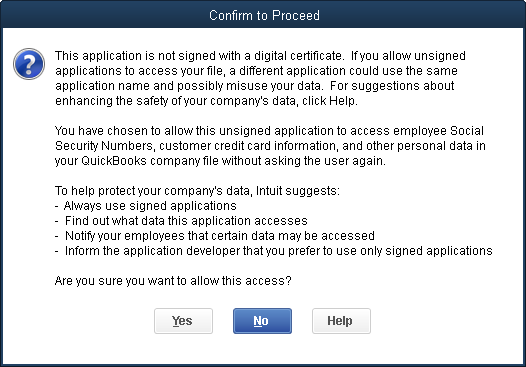
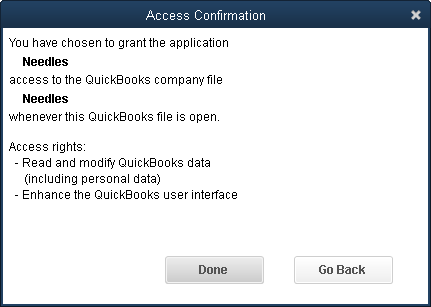
To select the check export options when using the QuickBooks SDK Interface:
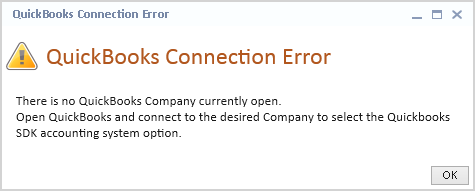
If your QuickBooks Company file is not open or QuickBooks is closed, you will receive a connection error message.
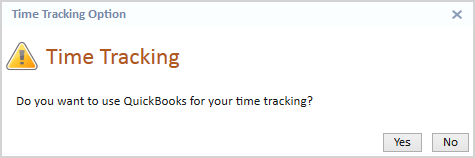
Clicking Yes to track time using QuickBooks will automatically enable this feature on the QuickBooks SDK tab. If you initially selected No, but then decided to implement time tracking through QuickBooks, you can return to the QuickBooks SDK tab and select the option.
If you have chosen to use QuickBooks to track time, you will need to enable Time Tracking in Needles in order for this feature to work correctly. In addition, employees and items with rates MUST be set up in QuickBooks PRIOR to setting up the time tracking interface.
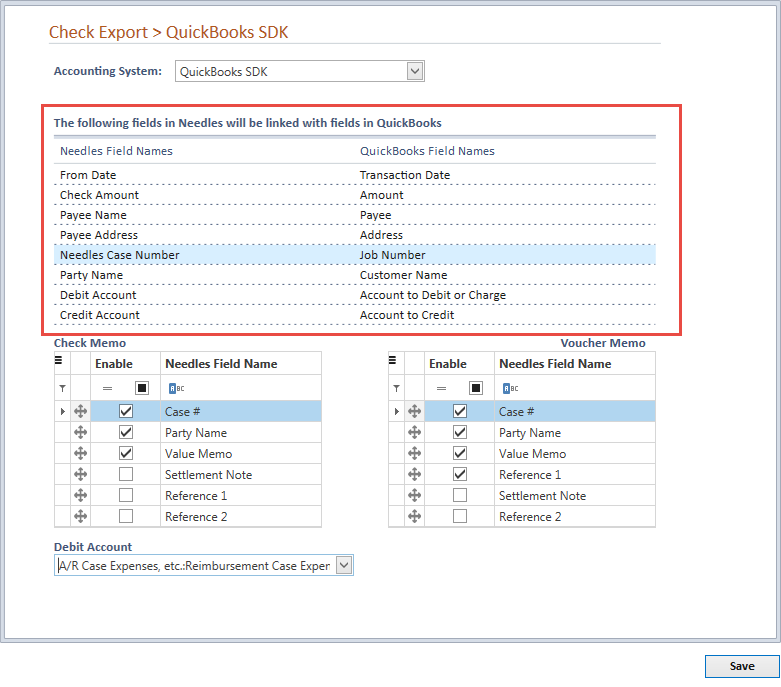
After responding to the Time Tracking question, the QuickBooks SDK check export options will display showing the list of Needles fields that will be linked with fields in QuickBooks when using the SDK interface.
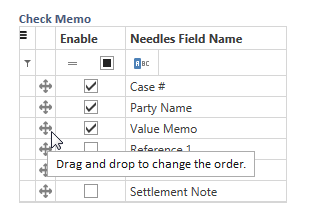
 icon at the beginning of each entry
and drag the row item to the desired order.
icon
at the beginning of each entry and drag the row item to the desired
order.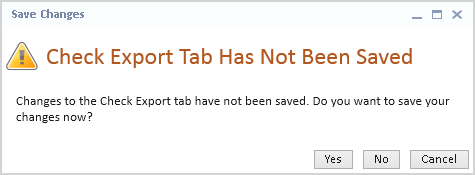
When the QuickBooks SDK option is selected from the dropdown on the Check Export Tab, the QuickBooks SDK Tab will become enabled. Additional settings are available on this tab to further determine how the interface will work between the two programs. Utilities to assist matching providers and parties when switching from the IIF interface to the SDK interface are also accessed from this tab. Once you have saved the Check Export selections, click on the QuickBooks SDK Tab to finish Configuring the QuickBooks SDK Interface.