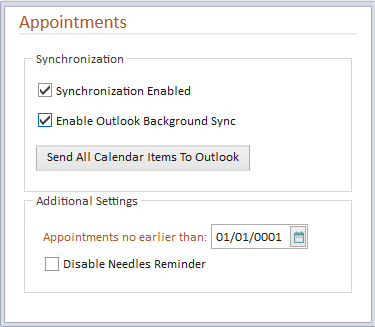
Needles bidirectional syncing with Outlook is a Needles individual staff preference which links the Needles Staff ID to a computer name and Outlook profile on a specific machine in order to ensure syncing with the correct Outlook profile.
Each Staff ID within Needles can only be set to sync with one Outlook profile. If a Staff ID in Needles is set to sync with a shared or public folder in Outlook, no other staff ID can be set to sync with that same folder.
Appointment synchronization settings can be activated in Needles directly within the Staff Directory. Once activated, specific appointment criteria must be set as part of the activation process. To configure these settings, the user or an administrator must have proper permission to modify the Staff Directory.
To activate the Appointments sync:
When enabled, appointments will sync between Needles and Outlook using the Bidirectional With Delete setting. This means that changes and additions, including deletions, in Outlook will overwrite data in Needles on linked items being synced. In turn, changes and additions, including deletions in Needles will overwrite the data in Outlook.
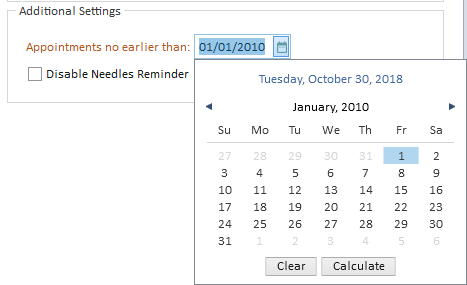
Once changes have been saved, the Appointments sync will initiate and as a result, you will see the Appointments Status Information icon displayed on the NEEDLES ribbon in Outlook. Refer to Understanding Status Information Icons for more details.
You can verify which appointments are synchronizing by clicking on your Calendar folder in Outlook and changing your view to a list view. Synced Appointments will be listed with the “NeedlesSync” category. For additional information on maintaining your synced appointments, review Managing Synced Items.