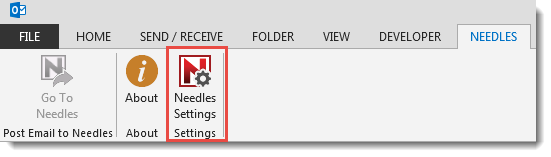
Once the NEEDLES ribbon is displayed in Outlook, a user may access the Needles Outlook Settings Window, if proper permissions have been granted.
The Needles Outlook Settings window displays login and password used for syncing appointments . Review Activating Outlook Sync Settings for more details about appointment synchronization settings.
In order to log in to the Needles Outlook Settings window, the following must be configured:
Needles Web API service must be started.
Consult your system administrator to start this service.
Enable permissions for:
To enable the proper permissions:
Permissions can be granted for an individual staff using the Staff Directory or for all staff in a group via Permission Groups.
Once the API and permissions have been configured, open Outlook and click the Needles Settings button on the NEEDLES ribbon. Logging into the Needles Outlook Settings window will grant access to the Outlook Add-in features, such as Send and Post emails and synchronizing Appointments, Contacts and Tasks.
To log in to the Needles Outlook Settings window:
Once your credentials have been verified, you will see the text, “Logged In” displayed at the top of the Login section on the Needles Outlook Settings window. You will now be able to Send and Post Emails to a Case # or Provider Name.
Synchronization settings for Appointments can be configured in a user’s Staff Directory > Outlook tab.
If the current user cannot modify their Outlook Sync Settings, the Appointments section will be visible but disabled. Staff with permission to modify the Staff Directory can configure these settings for others. To grant the user access to their own synchronization settings, the user must have at least “Enabled” permission to the Staff Directory. To modify their settings, they just have “Modify” permissions to the Outlook Sync Settings. Review Assigning Permissions for more details.