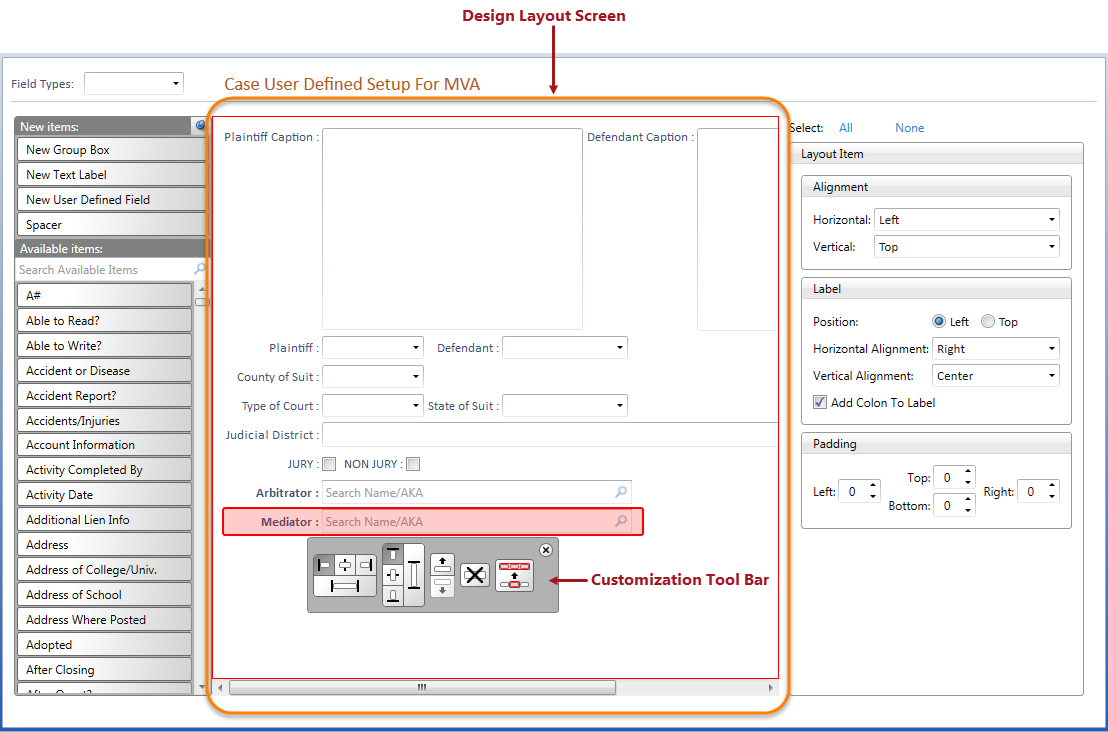
The Design Layout Screen is where you can layout the design of a custom user defined screen for various areas of Needles. Items or fields can be dragged from the Items Pane and dropped onto the Design Layout Screen or added using the New User Defined Field button. Once added, fields can be selected, resized and repositioned.
Fields may only be used once per user defined screen. Once used, fields will no longer display in the Available Items list.
All fields can be selected or deselected using the All or None buttons, located above the Properties Pane. This is useful when deleting all fields on the Design Layout Screen.
When an item in the Design Layout Screen is selected, the Customization
Tool Bar will display with alignment modification options. Clicking on
the  in the upper right corner
of the tool bar will close it. To reopen the Customization Tool Bar, click
on the selected field.
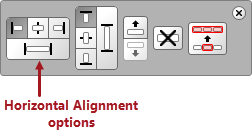
The selected field(s) can be modified horizontally by using the Left, Center, Right or Stretch buttons.
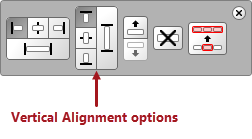
The selected field(s) can be modified vertically by using the Top, Center, Bottom or Stretch buttons.
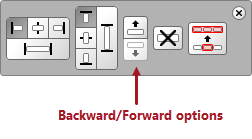
The selected field(s) can be moved one field backward or one field forward at a time by clicking on the Move Backward or Move Forward buttons.
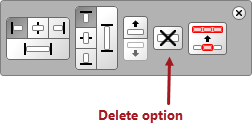
The selected field(s) can be deleted from the Design Layout Screen by clicking the Delete button.
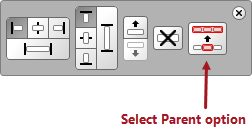
The “parent” of the selected field(s) can be located by using the Select Parent button. Fields related to the selected field(s) will be highlighted. This is useful when many fields are located within a Group Box.