Printing Value Items
There are multiple ways to print value items. The List View and Detail
View of the Value tab can be printed. Multiple standard reports based
on value items are available, and your firm can write their own user defined
Value reports and save them to the Reports Library.
Printing the List View
A list of value items in a case can be printed using the options in
the Hamburger menu of the grid to print or export the current grid view.
Columns can be repositioned and other columns can
be added or removed from the grid using the column
chooser. Use the filter row to only display the rows you wish to print.
Change the sort order by clicking on column headings.
To print the list of Value items in a case,
- While viewing the list of Value items in the Value Tab
List View, click the Hamburger icon
 in the upper
left corner of the grid. A popup menu will display.
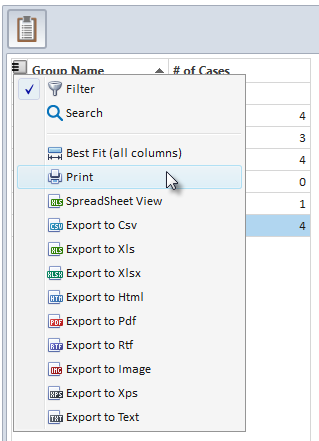
- Select the Print
option from the hamburger menu. The Print Preview window
will display the grid list report.
Other options available
on the hamburger menu include exporting the
current grid view in the desired format. This allows for exporting directly
to a file while bypassing the Print Preview step.
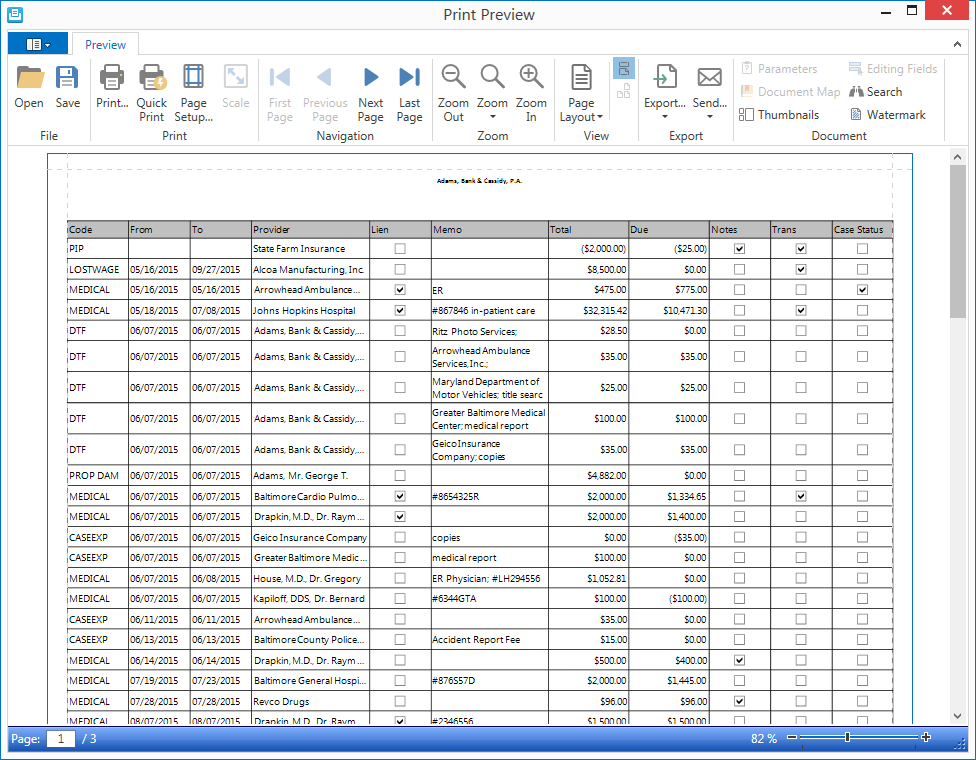
- From the Print Preview window, click on the appropriate
ribbon buttons to search,
print, send
or export the report.
Printing the Detail View
To print the Detail View of a single Value item,
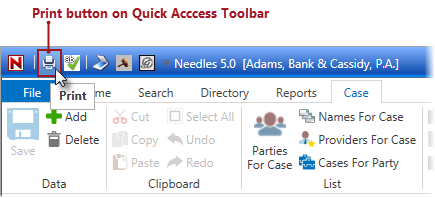
- While in the detail view of a Value item, click the Print
button on the Quick Access Toolbar (located either above or below
the ribbon).
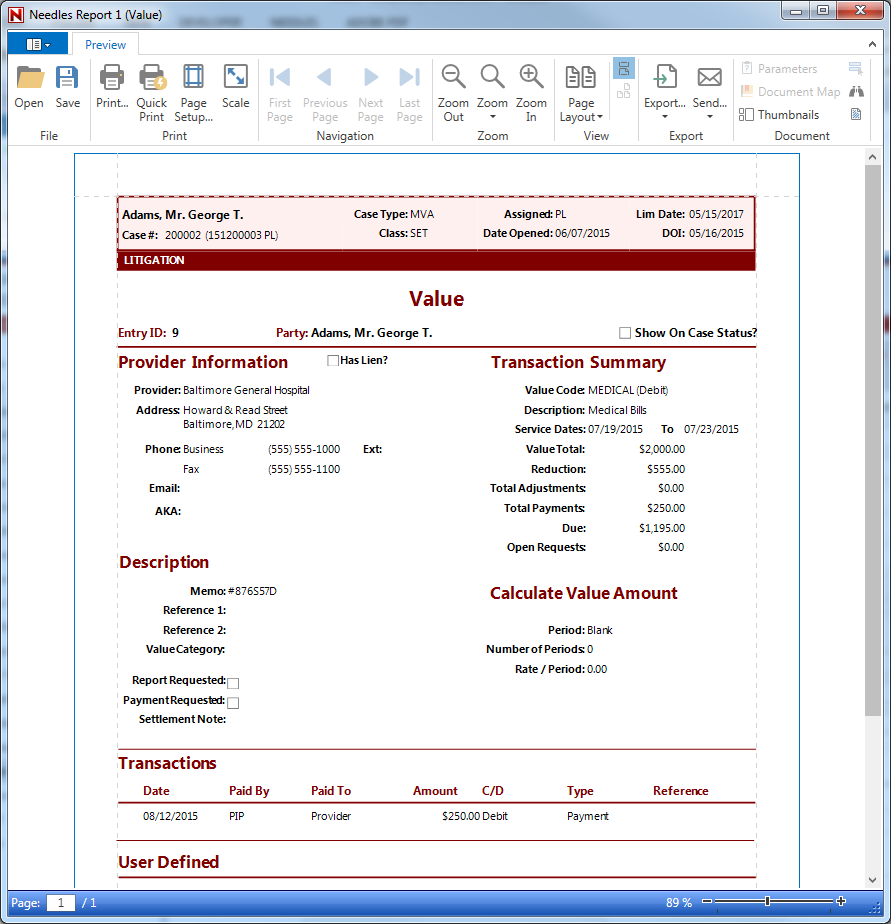
- The Print Preview window will
display a complete replica of the full screen for the single item.
Click on the appropriate ribbon buttons to search,
print, send
or export the report.
Printing Using the Reports for
Tab Option
To run any of the standard Needles reports relating to the Value Tab,
- Click the Reports for Tab button on the Case ribbon.
The Report Selection Window will display a list of available reports
organized by Report
Category.
You will need the proper permissions
to access the available reports. If using the Needles Time Tracking feature
with Value, the Time reports will also be included.
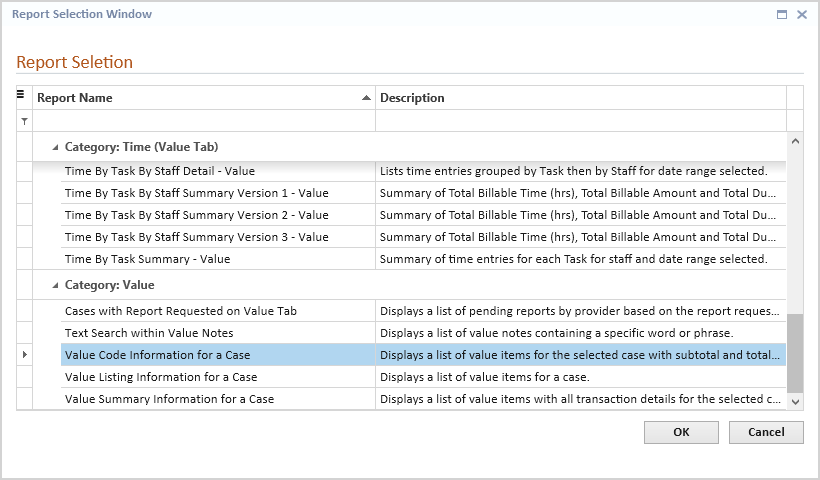
- Double-click the desired report from the list of reports
OR select the desired report and click the OK
button. The report will display in a new tab window within Needles.
- On the Parameters pane, select any of the desired options
on which the report should filter.
If the report contains a parameter
for the case number, it will be pre-populated with the number of the active
case being displayed when the Reports for Tab button was clicked.
- Click the Submit
button to run the report. The selected report will display in the
Print Preview Tab window.
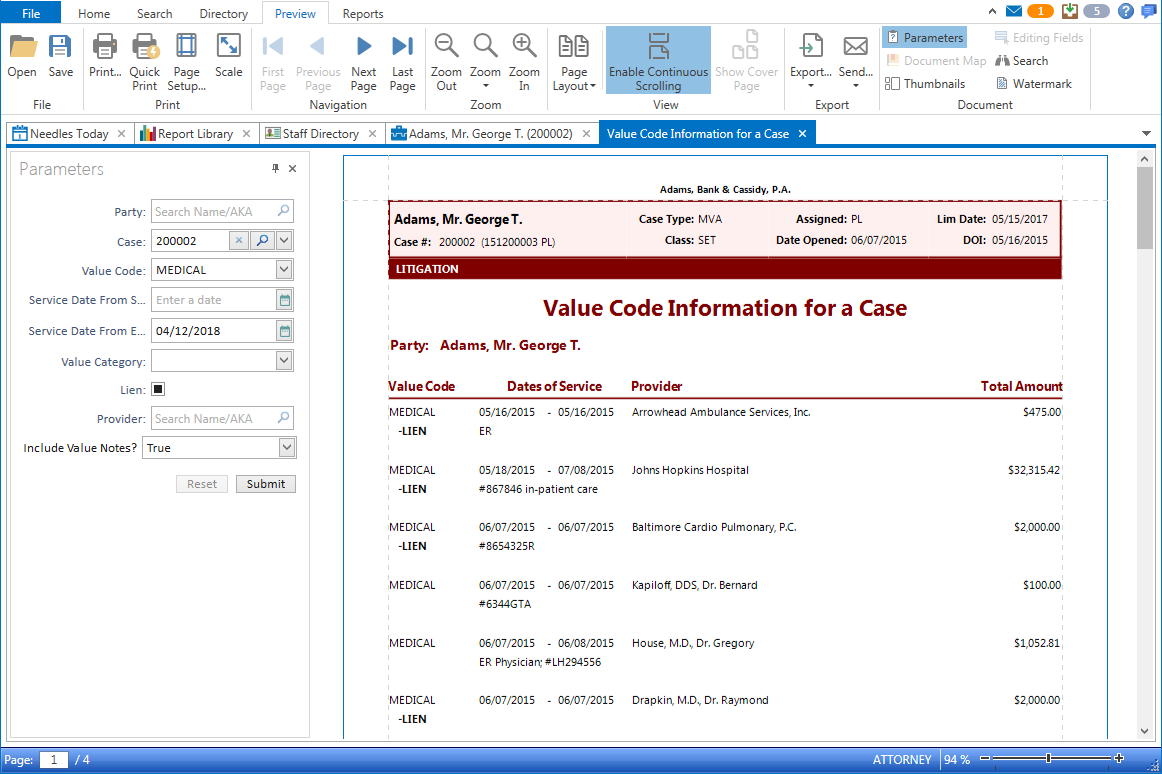
Click the Reset
button to reset the fields to the last selections when the Submit button
was clicked.
- From the Print Preview window, click on the appropriate
ribbon buttons to search,
print, send
or export the report.
Printing From the Report
Library
Reports can also be run from the Report Library. To access the Report
Library,
- Click the Reports
ribbon in Needles.
- Click the Report
Library button on the Reports ribbon.
- Select the tab on the left-hand side of the Report
Library to select a report type, such as Settlement Memos or Time reports. The Reports
tab will contain the Needles Standard Reports as
well as any user defined reports your firm has written.
You will need the proper permissions
to access the available reports.
- Double-click the desired report
from the list of reports. You can also select the desired report and
click the Run this report
icon
 above the reports grid. The selected report will display in a new
tab window within Needles.
- On the Parameters pane, select the desired options on
which you would like the report to filter.
- Click the Submit
button to run the report. The report will display in the tab window.
Some standard reports may provide bookmarks to assist in quick navigation.
Click on bookmarks in the convenient Document Map in the lower left
corner of the Print Preview window to easily navigate to the specified
section of the report.
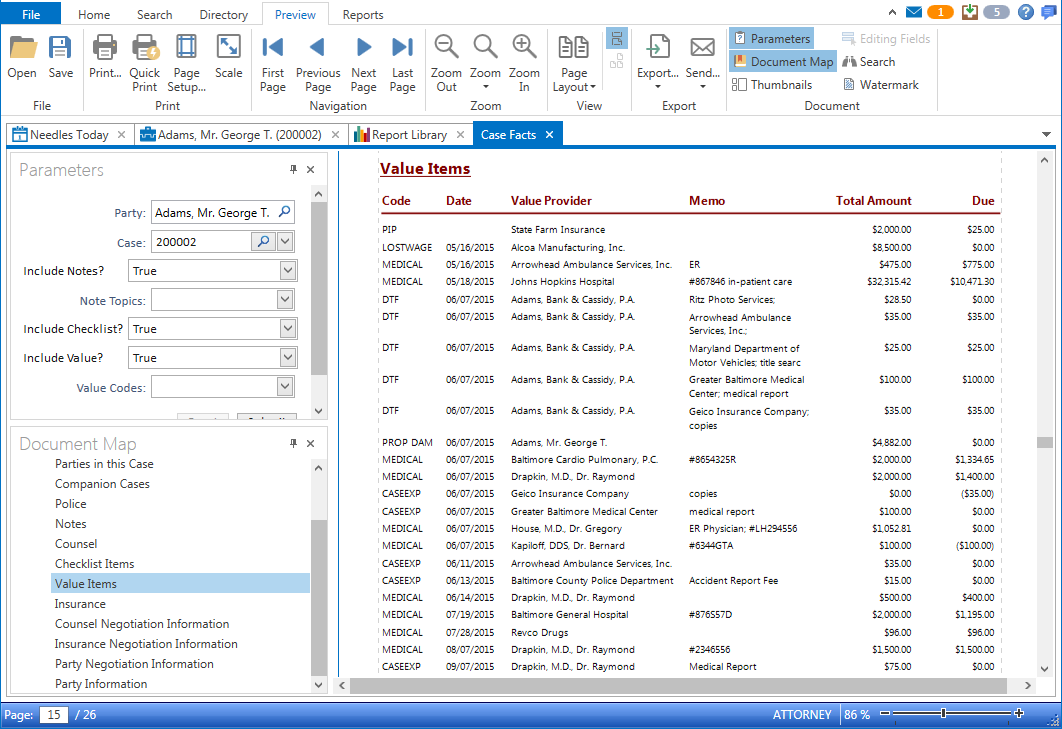
Click the Reset
button to reset the fields to the last selections when the Submit button
was clicked.
- From the Print Preview window, click on the appropriate
ribbon buttons to search,
print, send
or export the report.