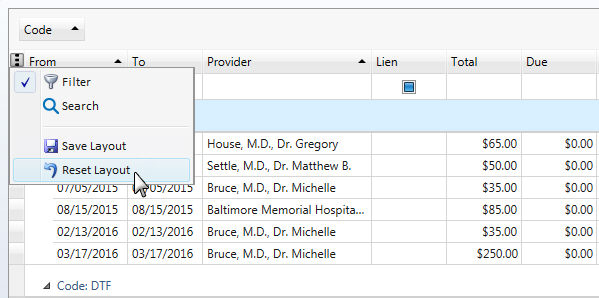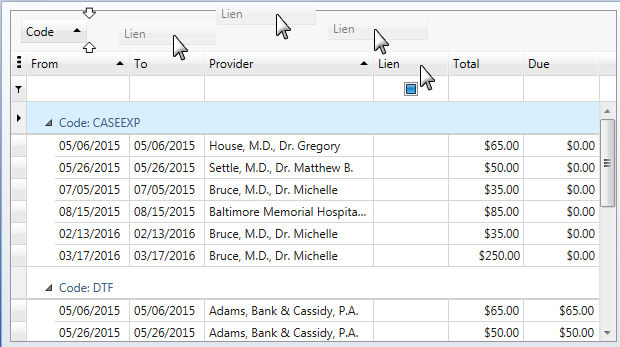
At times you may want to hide existing columns or add additional columns to a grid view. New screen layouts can be saved by individual user so that the next time you log in, your customized grid layout will continue to display. If you later decide you no longer want the customized layout, you can reset your grid view to the default layout.
To reorder columns, drag and drop the column header to the new position in the column header row.
To resize columns, drag the right edge of the column header horizontally.
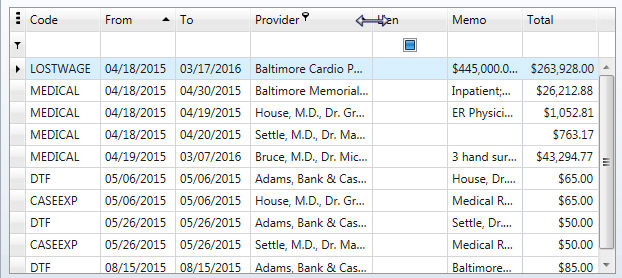
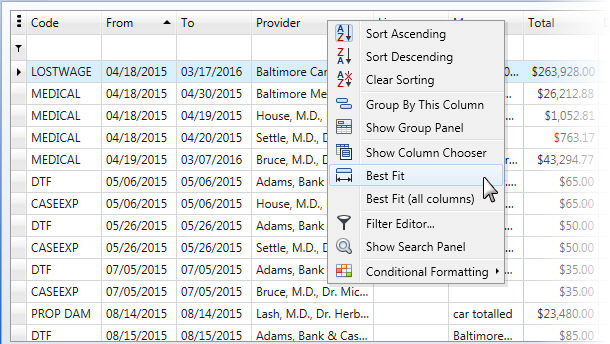
To change a column's width so that it displays the cell contents in its entirety, do one of the following:
To quickly hide a column, drag the column header into the center of the grid area and then drop the header.
To display a list of hidden columns that can be added to the grid, right-click on a column header and select Show Column Chooser from the popup list.
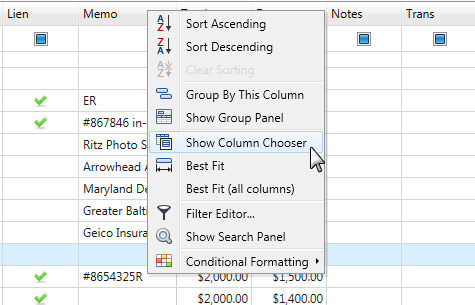
The Column Chooser window will display.
To display a column on the grid, drag the column from the list in the Column Chooser and drop it into the column header row at the desired location.
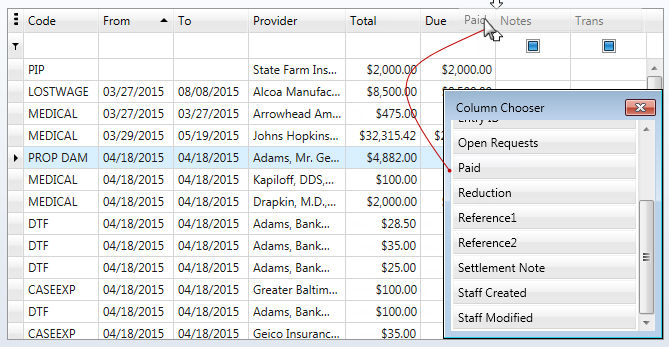
You can also drag a column header into the Column Chooser to hide it.
Each individual user can save their sort, grouping, and column changes by using the save layout option. The changes are also saved by case type for grids that appear on tabs of a Case Folder. The new grid view will be displayed the next time you open the same window.
To save your layout after making changes to a grid,
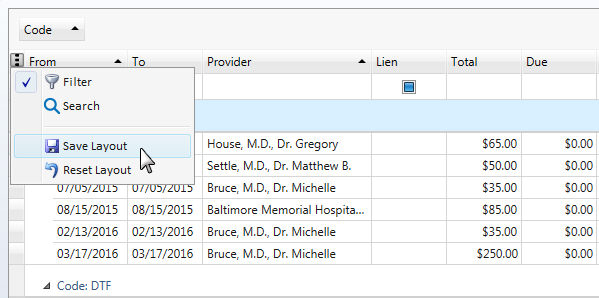
The Reset Layout option allows you to return to the default grid view if you decide you know longer wish to use your customized layout.
To return to the default layout,