As you enter the information about a case into Needles, you will be given, in many instances, a list of choices. Your selection is made from one of several categories or selections that were set up when creating the various directories in your system. New cases cannot be entered into Needles until directory entries are customized. As your system progresses, new tracking needs arise and you may discover that changes need to be made to the directories. See information for each specific directory for details on how changes are made and how they may affect the case details.
A case in Needles resembles a file folder, with tabs representing categories of information or features. Factual information about the case is entered into the case folder. Once your system is set up and the directories are complete, most of your time in Needles will be spent on case entry, referring to and updating the case with the latest information.
To enter a new case:
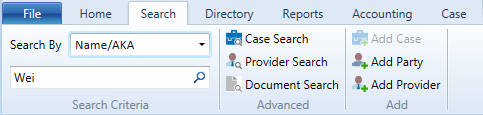
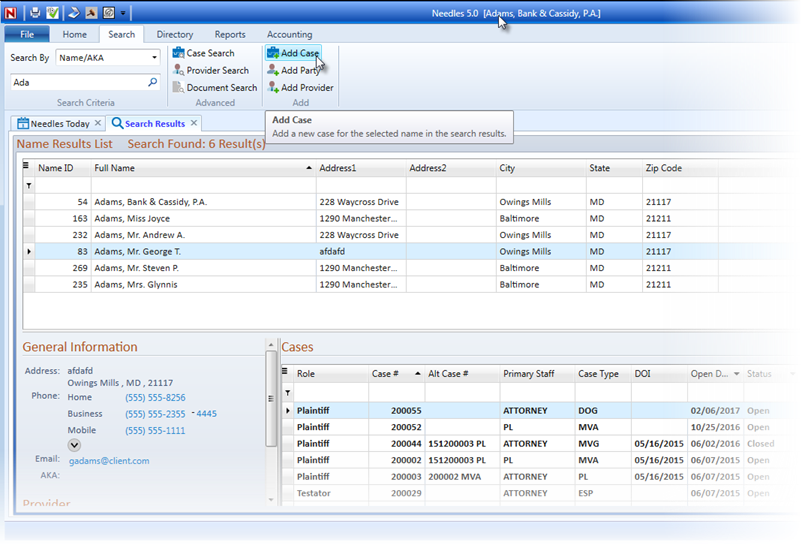
When entering a name, type only the first three letters of a person’s last name or the first three letters of a company’s name. Any name that begins with the same three letters will be retrieved into the names list. This acts as a check for conflicts of interest, since any party or provider of service that exists in the Names Directory will be displayed. This also reduces the risk of making an error in spelling a name or creating a duplicate. The % symbol can also be used as a wildcard within a search string.
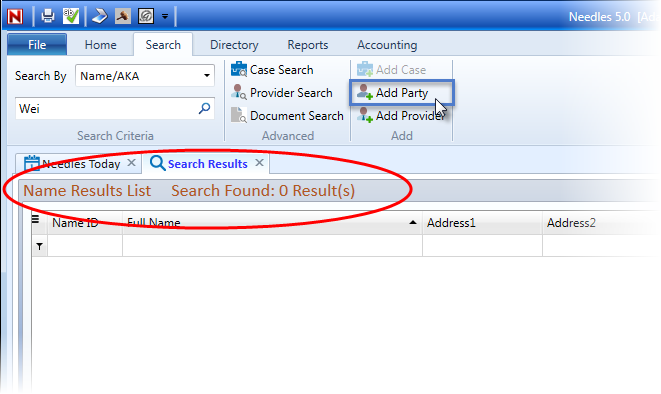
 at
the end of the criteria field. The
Search Results Tab will display showing that no names were found matching
the criteria.
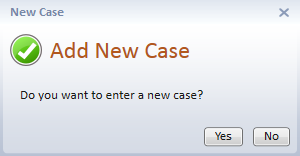
When using the QuickBooks SDK interface, there may be additional prompts to automatically create a new customer/job or client/matter when opening a new case in Needles.
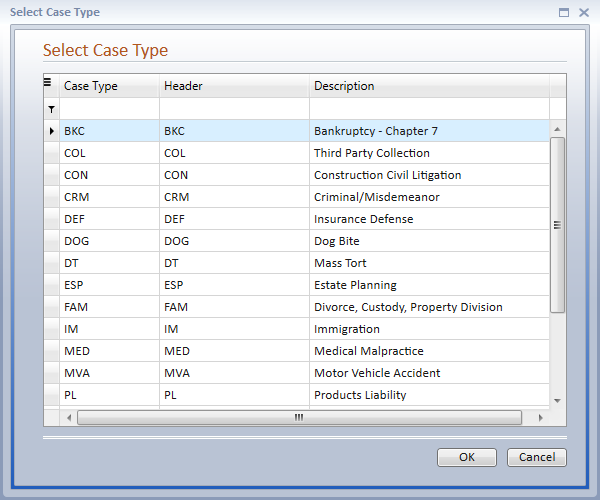
The case/matter type that you select determines the type of case information that you enter into Needles and the checklist that is attached to the case.
See Also, Search, Party Entry, Party Tab, QuickBooks SDK