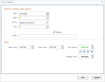
When the Time Tracking module in Needles is enabled, you can elect to send the time entries to the time tracking module in QuickBooks by selecting an option in the Interfaces > QuickBooks SDK tab. Once linked to a QuickBooks Company, Needles will make use of the employees and rates that have been set up in QuickBooks.
Time tracking must be enabled in both the Interfaces > QuickBooks SDK tab and Firm Preferences > Time Tracking.
You must have the proper permissions to access Firm Preferences and QuickBooks SDK in order to enable time tracking.
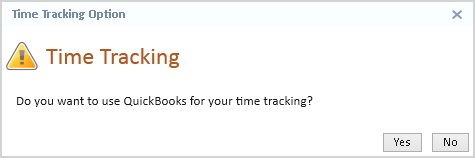
When the QuickBooks SDK option is chosen as the Accounting System in the Interfaces >Check Export tab and the “Save Time to Value Tab” option is not selected in Firm Preferences, a Time Tracking Option message box will display.
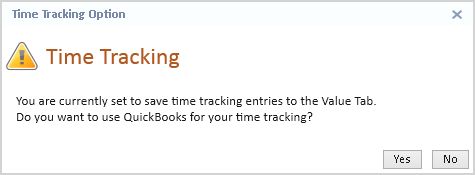
If the “Save Time to Value Tab” check box has been selected when the QuickBooks SDK option is chosen as the Accounting System in the Check Export tab, a similar message will display, indicating your previous setting to save time tracking entries to the Value tab.
You may directly select the “Use QuickBooks for time tracking” check box while on the QuickBooks SDK tab.
Once you have accessed a case, you will notice a green timer which will begin counting the time spent in that case in the right corner of case header band.

To control the timer:
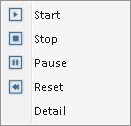
Start Timer |
This option will restart the timer after it has been stopped or paused. The clock numbers will display in green. |
|
Stop Timer |
Use this option to stop the timer. The clock numbers will display in black. |
|
Pause Timer |
This option will pause the timer until you restart it. The clock numbers will display in maroon and will blink on and off. |
|
Reset Timer |
This option will reset the timer back to 00:00:00 and the timer will immediately start again. |
|
Detail |
Selecting the Detail option will display the Time Tracking window, from which you can also start, stop, pause or reset the timer. |
|
Upon exiting a case, the Time Tracking window will display for you to review and finalize. Double-clicking the timer in any state will also display the Time Tracking window for modification.
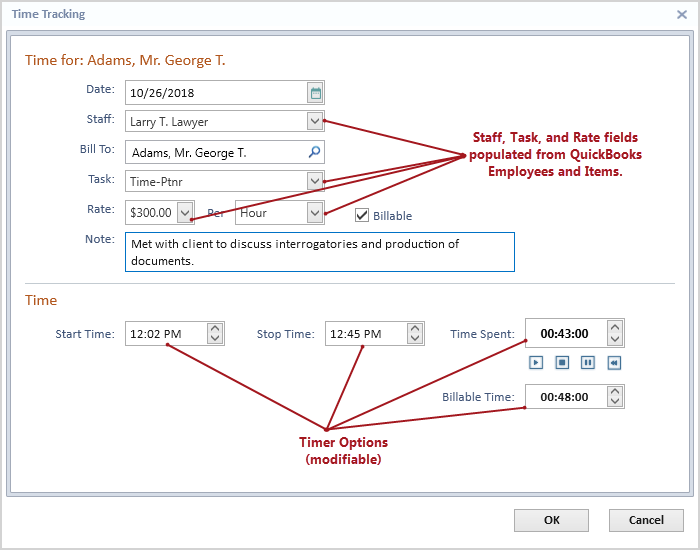
The Staff and Task dropdowns will contain Employees and Items in QuickBooks that you have already configured for time and billing. The total Time Spent will be sent to QuickBooks. Time entries are not retained in Needles.
Review Time Tracking for more details on completing a time entry in Needles.
QuickBooks must be open in order to track time from Needles.
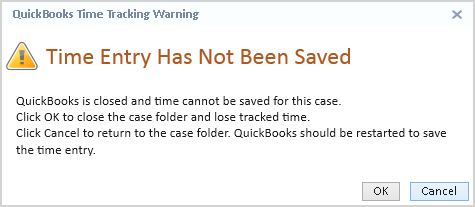
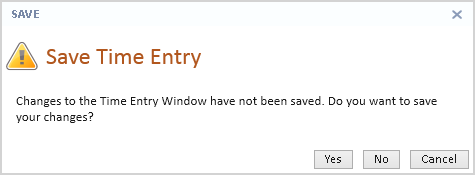
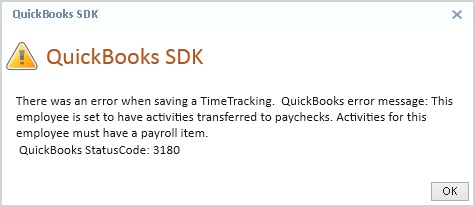
If Payroll is not enabled in QuickBooks, the “Use time data to create paychecks” check box for each employee should not be selected, as this will prohibit time from being sent to QuickBooks.
To verify the time card information transferred to QuickBooks successfully,
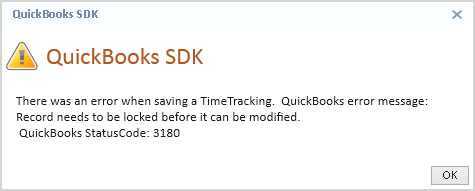
The Employee’s Timesheet must be saved before time can be sent from Needles to QuickBooks, otherwise the following warning message will display.
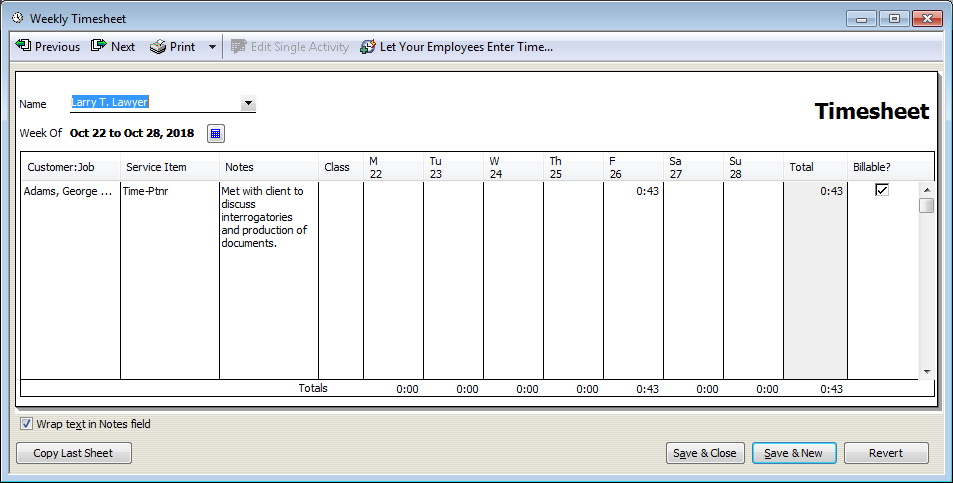
Time sent from Needles will automatically be saved in the QuickBooks Weekly Timesheet.
Time will not be saved in Needles when the “Use QuickBooks for Time Tracking” option is selected.
A QuickBooks Customer record will be created for each Party or Provider entered in the Bill To field of the time entry if not already linked to a Customer in QuickBooks.