Accessing the Notes Tab
To access the Notes tab, navigate to a Case Folder and select the Notes
tab from the list of tabs on the left. If no Note items have been entered
for this case, a new Note item is opened.
You will need permissions to the Notes
Tab in order to input Note information.
List View
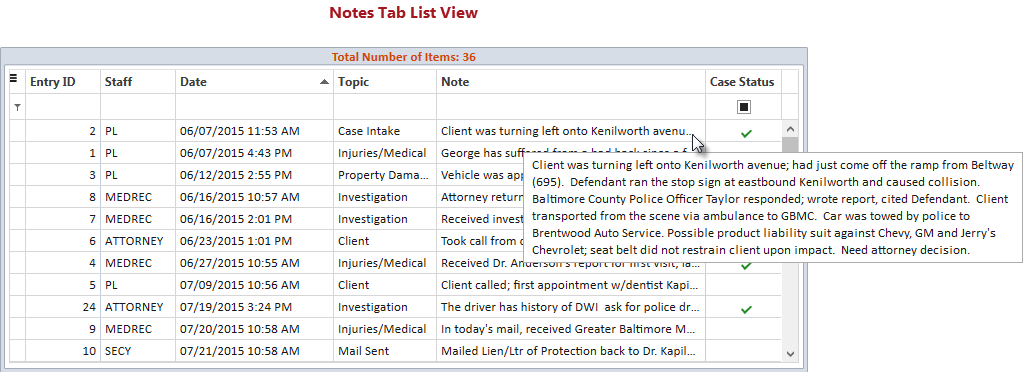
If Case Notes already exist for the Case, clicking on the Notes Tab
in a Case Folder will display the most recent Case Note in Detail View. Clicking on the View
List button on the Detail View header band will display the Notes
List View. A header band is displayed showing the total number of Note
items in the case. Below the header band is the list of Note items displayed
in a grid
containing the default columns: Entry ID, Staff, Date, Topic, and Note.
If you have elected to use the Case Status tab in the case type and it
includes Note information, the Case Status column will also be displayed.
Additional columns can be inserted into the grid using the Column
Chooser option from the menu when right-clicking a column heading.
The Notes grid can be filtered,
searched,
printed
or exported
by clicking the hamburger  icon
in the upper left corner. Click on a column heading to change the sort
order by that column. Each Note item will be displayed as a row in the
grid. Double-clicking a row will open the detail
view of the selected Note item. Mouseover the Description
in a row to view a pop up displaying the full note text.
Detail View
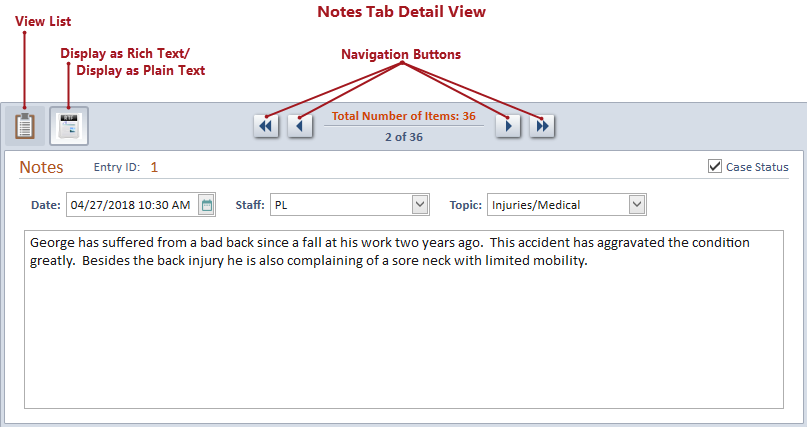
The Header Band across the top of the Note Detail View of a Note item
will display several options. Return to the Note List View using the View List button. If the Rich Text
feature has been enabled in the Default
Firm Preferences, the Display as
Rich Text button will also be displayed. Clicking the button will
convert the note text to rich text allowing
greater formatting capabilities. Once in rich text format, the button
will toggle to Display as Plain Text
to return the content of the note to plain text, if desired. Navigation
buttons are available to quickly page through the different Notes.